Introduction
Continuous network scanning is an essential task for IT support personnel to ensure the security and stability of a network. The Lupasafe Network Scanner is designed to help with this task by performing a continuous scan of a given network range. The scanner looks for new assets and vulnerabilities, providing valuable insights into the network's current state.
The scanner works in four stages:
- Asset identification: The scanner identifies all the assets on the network, including devices, servers, and workstations.
- Service and software identification: The scanner identifies the services and software running on the network, providing information about what is running and what needs to be protected.
- Vulnerability identification: Based on fingerprints, the scanner identifies vulnerabilities in the network. These vulnerabilities may include misconfigurations, outdated software, or other security risks.
- Risk prioritization: Using the Lupasafe threat database, the scanner prioritizes the risks based on their level of severity. This allows IT support personnel to focus on the most critical issues first.
The Lupasafe Network Scanner is a combination of NMap technology and Lupasafe Risk Engine. NMap is a widely used tool for network exploration and security auditing, and is a popular tool among hackers. The Lupasafe risk database provides additional insights and integrates with the Lupasafe dashboard, making it easy to understand and manage the results of the scan.
Part 1 - Installation of the scanner on the end-point
Generate keys in the portal
In the portal, click on ' Network Scanner'. 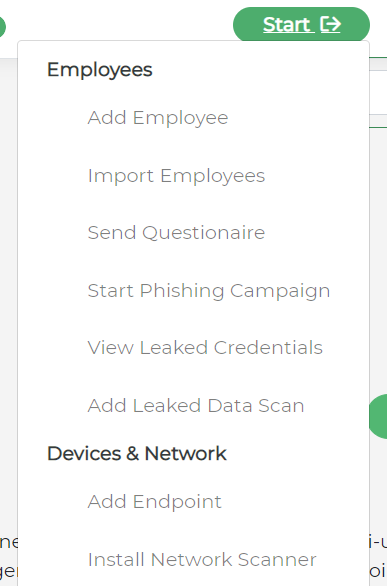
You will be presented the following screen. This is where you create an account and password (API credentials), you will need these later:
 Press the button to generate the account and password
Note: If you want to install multiple network scanners, please generate a set of API credentials for each scanner. The scanner will contact the server to retrieve settings, these settings will be determined by the username and password combination.
The screen will notify you about the new username & password ONCE for security reasons. Copy it for the installation.
Something similar to

Go BACK and at the end of the page, you can download the 'Network scanner', it is made to run on Windows operating system. You can also download it here.

Install the scanner on your endpoint
You can now install the scanner and provide the credentials above.
Process is similar to the Lupasafe Agents Teams (employee agent). The scanner will push all the devices and fingerprints found to the Lupasafe risk engine. Lupasafe will assess the risk and show this on your dashboard. The scanner will need some extra configuration.
Result
Once you've installed the network scanner a new option will be available in the menu on top of the Lupasafe portal. Here you will able to view the assets found by the network scanner. You can install multiple scanner, for example for different segments of your network.

Part 2 - Configure the Network Scanner
To configure the network scanner go to Settings -> Networkscanners

Here is a list of the installed scanners. You can see the last time a scanner pushed data and of it still active or not. The initial name is automatically generated, you can change it to a more meaningful name in the settings.
Click on Settings to go to the network scanner details.
In the settings you can enable or disable the network scanner, for example this can be useful during maintenance hours or problem solving situations. You can change the name to something more meaningful. This would be even more handy if you have multiple scanners in your network.
In the IP ranges to scan you can use either single IP-addresses, IP ranges using the CIDR notation or IP-ranges using a minus, like 10.0.0.1-10.0.0.15. You can combine these three notations in the settings textboxes, you have to separate the different addresses and ranges using a semicolon.
The scanner will pick up the settings with the next run, this will be a minute if no scan is running. If a scan is running the network scanner will wait for completion of the scan before using the new settings. Of course, you can force the scanner to stop by stopping the Windows service and restarting after saving the settings.
Correct configuration
Ensure, under Setting - Networkscanners the scanner is enabled ("ON") and the IP range has been set to enable the network scanner.

That´s it. Results will now show up in the portal along with warnings via email for high risk vulnerabilities.
Whitelistening in the firewall
If you have a firewall that is blocking traffic to the outside world, please whitelist backend.lupasafe.com.